I'm still here in Rifle documenting my time at the Yamaguchi Frame Building School. The first entry is here.
After a short hike through about a foot of powdery snow, I started right where I left off with tacking the chain stays and dropouts into place. Tacking and brazing are starting to get a bit more difficult with the inclusion of more tubes, as the frame has to be worked from some funky angles. I worked quickly to tack so that I could move onto the seat stays.
 |
| The chain stays tacked to the bottom bracket. |
 |
| And the dropouts! Notice the plate holding the dropouts in place so that they're aligned. Another homebrewed tool! |
Last night I took a bit of time to decide how I wanted to join my seat stays to the seat tube. One of my classmates did a triple triangle style, which is one of Mr. Yamaguchi's signature styles. I really loved the look of that, and wanted to either do the same or something similar, so I ended up going with this sort of design, which gives me most of the strength of the triple triangle while still looking pretty slick. Now that I'd chosen, it was time to cut, miter, and slot the seat stays. Cutting and slotting were the easy part, exactly the same as the chainstays.
 |
| The dropout end of the seat stays, slotted, drilled, and sanded. |
Mr. Yamaguchi suggested that I make my stays parallel to my downtube, which adds a nice symmetrical touch that really makes the frame look classy. He showed me how to measure where the tubes would go so that they remain parallel, then set up a jig to hold them in place while I filed them down simultaneously. Going back and forth from filing to checking against the frame, I filed down the stays until they locked to the frame and were at the right place on the seat tube. Everything was sanded and cleaned with acetone, and the last round of tacking began.
 |
| Here's the special jig to hold the stays in place while they're filed. |
While I waited for my tacking to cool so that I could remove the frame from the alignment table jig, I continued to work on the fork. Measuring from the brake hole to the center of the fork ends, Mr. Yamaguchi pointed out that my fork was 410mm long, whereas it should only be 355mm. He marked off a good place to cut each fork blade, and I started to work on that. By the time I was done, the frame had cooled and I moved it to a stand to continue brazing.
 |
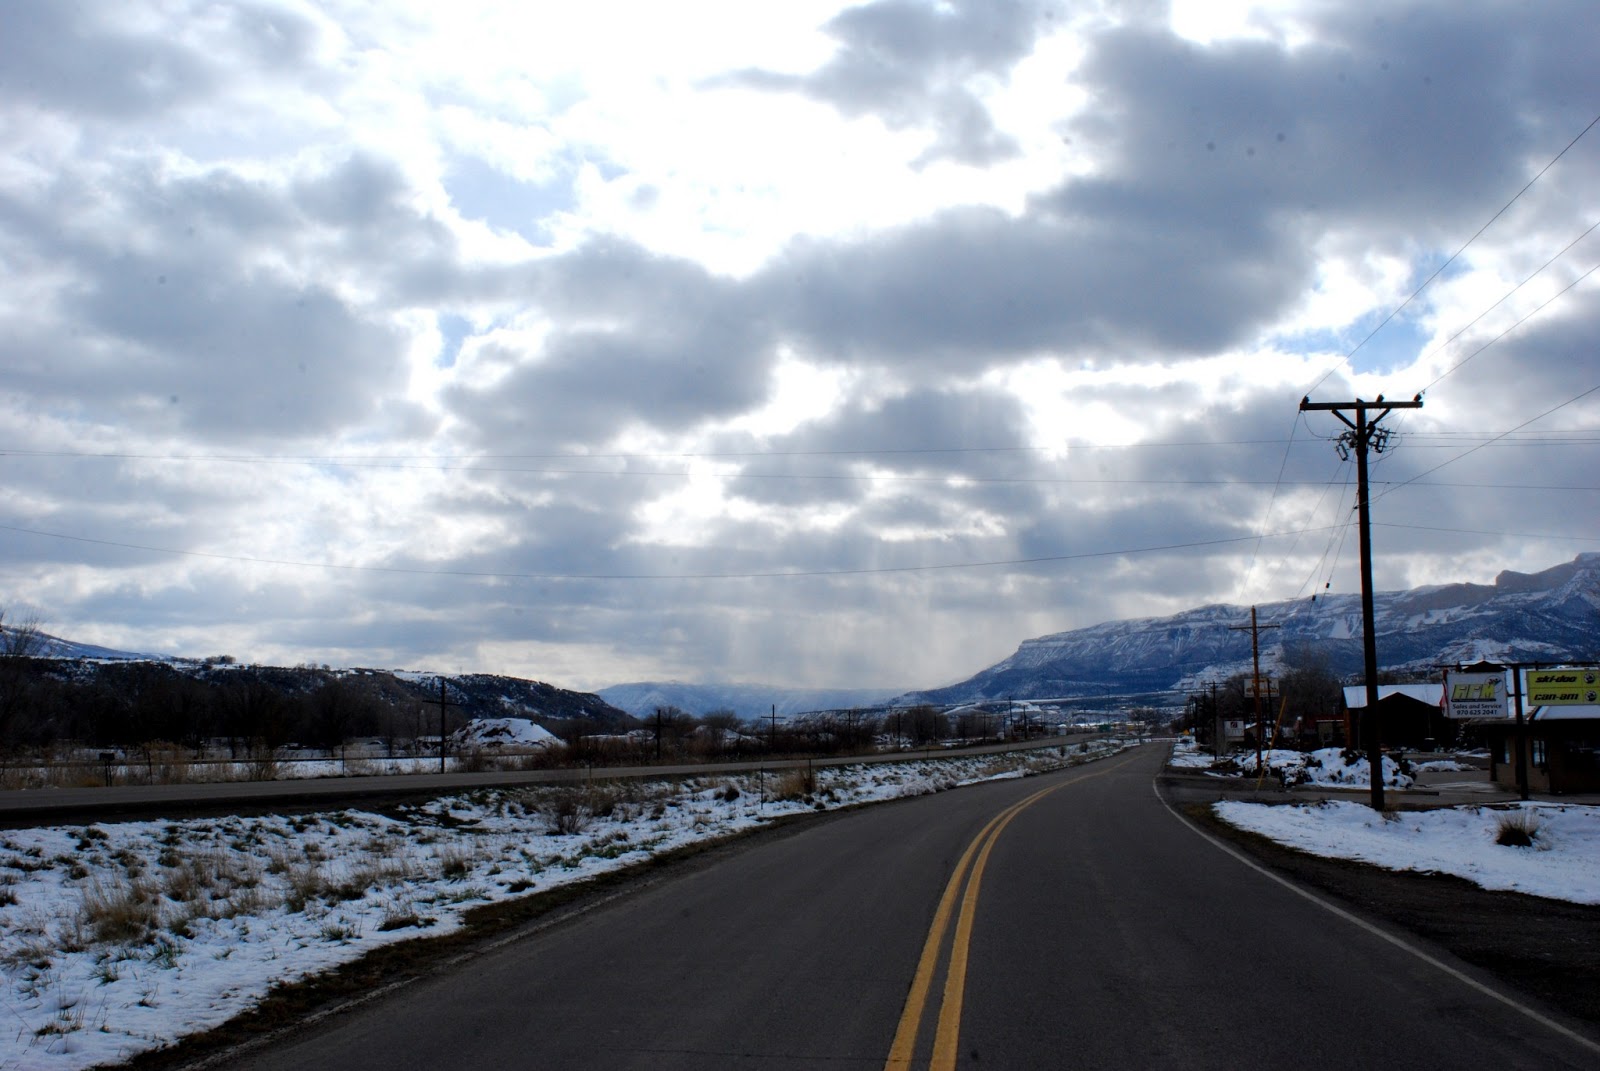
| I kept looking out at the snow. Spring in Colorado is weird. |
Speaking of forks, no class is complete without a history lesson, and today was bit regarding the origin of straight blade forks. The first straight blade fork was made by - you guessed it: 3rensho. However, when the bike was brought to the NJS for approval, it was considered too unusual and wasn't approved by the NJS. Word spreads though, and a few years later straight bladed forks appeared on a few major Italian bikes, though to this day they're still banned by the NJS.
 |
| The first straight blade fork, circa 1979. |
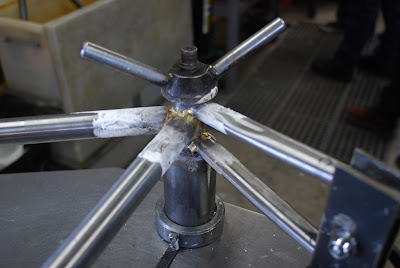
Back to work, first was cleaning any burned areas from the tacking, which there were few of (I'm getting better!), then I had to internally braze the chain stays. Once that was done and approved by Mr. Yamaguchi, I cleaned up again and moved onto externally brazing all of the bottom bracket, taking care to make an even fillet all the way around. It was tricky getting into the areas between the tubes, and it took a little while to get the brazing perfect.
 |
| All internally brazed up! |
Brazing the seat stays to the seat tube was the next step, which Mr. Yamaguchi showed me how to do. The seat tube is very thin walled compared to the stays, so much care has to be taken to not overheat it. The brazing for these was sort of a combination of internal and external at the same time, and they were done pretty quickly.
 |
| A quick, but delicate process. |
One of my classmates who is making a CX bike was asked about how he should do his seat stays. Since cross bikes need more tire clearance, his tubes will be brazed higher up and on the outside of the tube. This led to a conversation about various seat stay designs - Italian fastback, different lugged types, etc. We were warned that some styles, while looking nice, are not optimal. For example: wish bone style seat stays are too stiff on steel frames for road bikes, and some lugged seat stays have so little material brazed to them that they can crack and impale a rider's leg all the way through. We all cringed at that one.
 |
| Simple, aero, and pretty sweet. |
I didn't have time to start brazing the dropouts, since class was almost over for the day and it's optimal to not stop brazing once you start, but there was time to check on my fork blades. After I installed them in the fork crown, Mr. Yamaguchi checked my measurements. 355 exactly - probably the first time I got something exact with one try!
 |
| A little more brazing and this fork is forked! |
Lastly, I cleaned up the dropouts with sandpaper and applied flux, with just enough time to dry it in preparation for tomorrow. First thing in the morning will be the dropouts, and then onto finishing the fork - we're in the home stretch!
 |
| Oh man I can't wait to ride this. |
While I'm pretty psyched about my frame so far, I'm also a bit sad that my time here is almost up. I'm trying to enjoy every moment while I can.


No comments:
Post a Comment
Tell me your bike related thoughts!