The title of today's entry comes from the phrase of today, brought to you by Matt's reaction to me asking why everyone was hanging out under awnings wearing flannel and smoking cigarettes.
After a day of rest, we dove right back in to where we left off, starting with silver brazing the clamps onto the stems. It was pretty exciting coming into class and seeing our stems all cleaned off and shiny, but the clamps still had to be brazed and the finishing done. I placed each clamp at a time to make sure they were center and level, and then brazed them on. More pressing matters were at hand, so the stems were set aside for the time being.
 |
| My stem sitting with the rest of tubes. One happy family. |
 |
| Clamps brazed on - now it really looks like a stem! |
 |
| My tubes all set up, and fluxed. |
 |
| Close up of the head tube in the tacking jig. |
 |
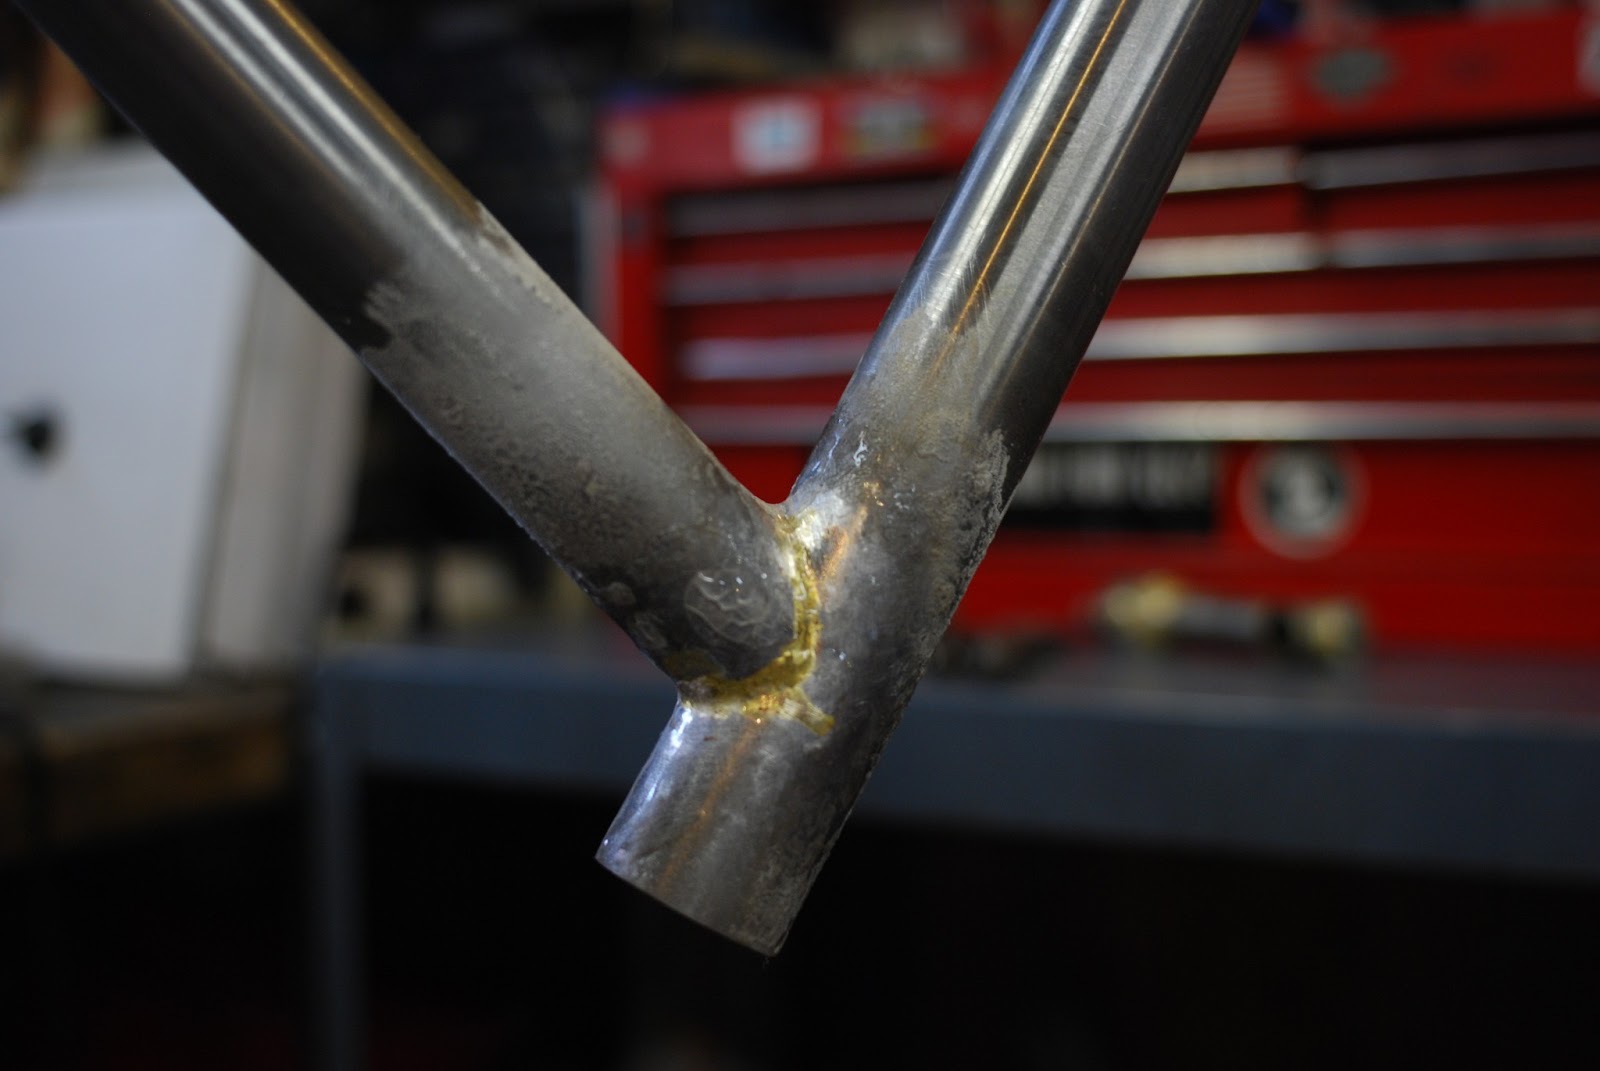
| Close up of the bottom bracket. The seat and down tubes are cut so that they lock together. |
 |
Ready to do some real brazing, and it's looking like a bike!! |
 |
| Filing takes a long time, especially when you have to be precise. My fork crown still had a ways to go in this photo. |
 |
| The seat tube prior to external brazing. It might seem like not a lot of bronze was used, but it was all just pulled into the inner seam, reinforcing the frame from the inside. The More You Know. |
 |
| After tacking. Look! Lugs! |
 |
| We're not external brazing the bottom bracket until the chainstays are tacked. |
 |
| After silver brazing. The black is bad, but the green is good. Temperature is really, really finicky when silver brazing, and great care has to be taken to not burn the tubes. It's something that comes with experience, Mr. Yamaguchi told us. |
I'm reading through all of these posts, and they're all awesome. I hope to attend this class soon. Your experiences are very valuable! Thank you for sharing them!
ReplyDeleteThank you, I'm glad you're enjoying them! And that's awesome - have you decided what sort of frame you're going to build?
DeleteThank you, I'm glad you're enjoying them! And that's awesome - have you decided what sort of frame you're going to build?
DeleteThank you, I'm glad you're enjoying them! And that's awesome - have you decided what sort of frame you're going to build?
DeleteHey there!
DeleteThis reply is a bit late... (better late than never, right?)
I did end up attending the class, in December 2015. I built a CX frame!
Unfortunately, shortly after completing the class life got in the way, and I never had a chance to finish it. Until now.
I recently got the frame painted and I'm in the process of ordering parts. I actually remembered reading your posts way back then and just sought it out again to relive the experience. Imagine my surprise when I saw my username on one of the comments! Completely forgot about it, and never saw your reply - my apologies.
Cheers, and thanks again for the posts! They've been just as good of a trip down memory lane after the fact as they were prep work ahead of the class!
Haha this is awesome! I'm so happy for you that you're getting to finish your bike and that you came back to this ancient (and recently very ignored) blog.
DeleteThanks for also taking me back down memory lane a bit. I hope your bike rides like a dream!